Categories:
Aura NLP Virtual Machine user guide
Guidelines for the installation of Aura NLP Virtual Machine, required for the configuration of the NLP development environment
Installation and operation guidelines
Aura Platform Team has generated a Virtual Machine that allows the configuration of the Aura NLP development environment following a semi-automatic process.
Follow the steps explained below to install and operate it:
-
Install VirtualBox (or other software).
-
Import
OVAformatted files that contain all the technical requirements for the installation. -
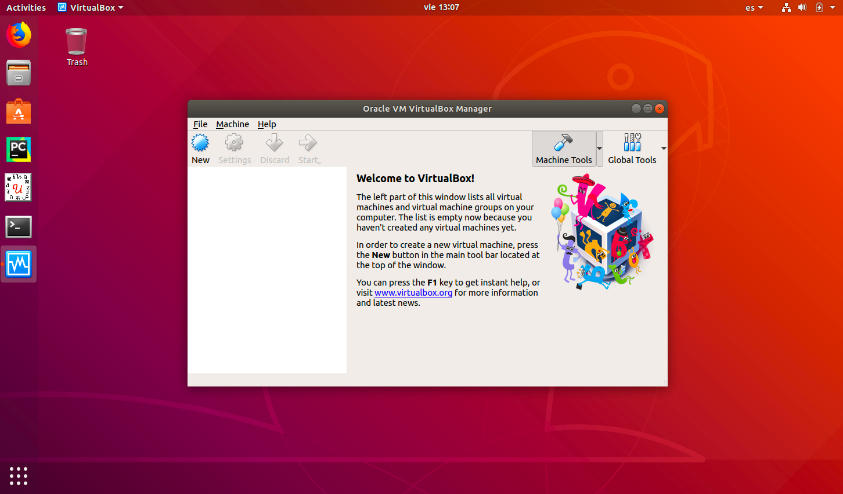
Once the VirtualBox is installed, follow these steps:
3.1. Select “File” -> “Import Appliance”
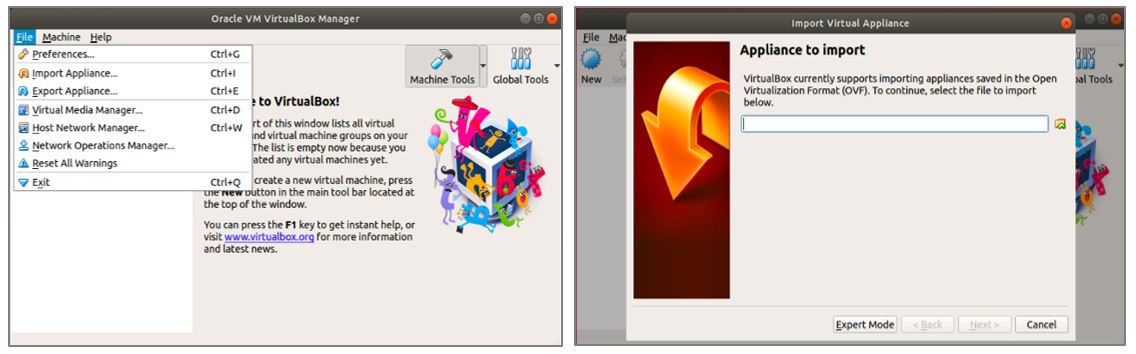
3.2. Access Aura NLP Virtual Machine for your release in the Sharepoint L-CDO repository and select the corresponding
aura-nlpdata.ovafile for importing it.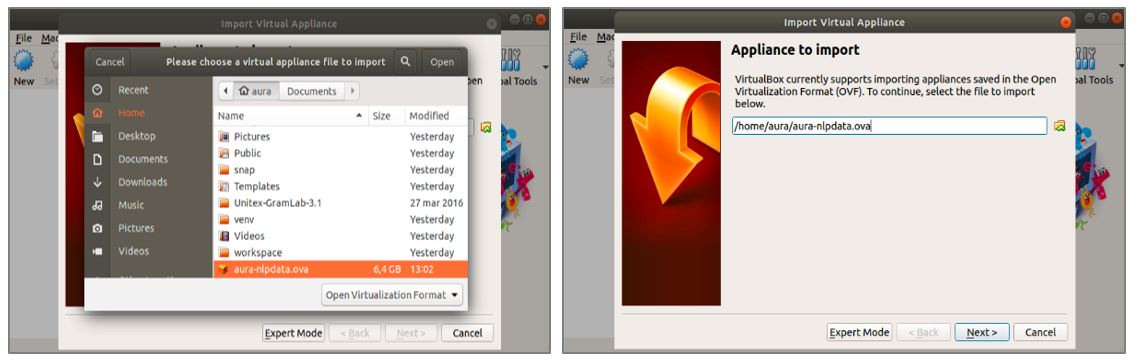
3.3. Click on “Next >” button and, afterwards, select the “Import” button.
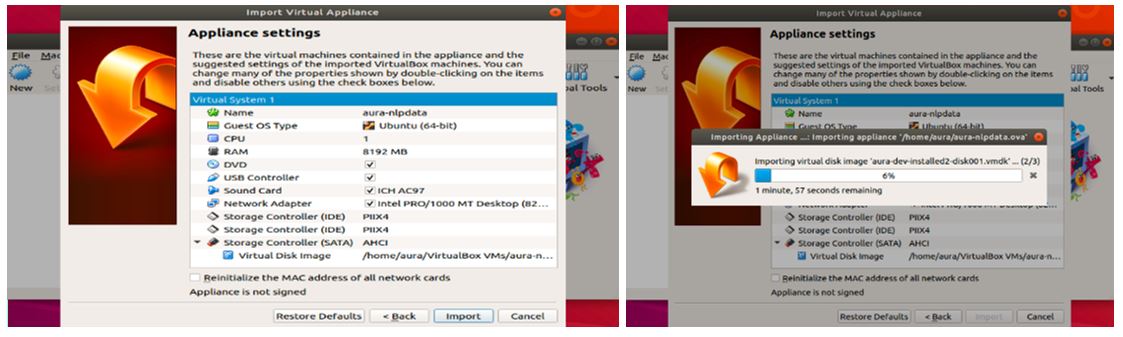
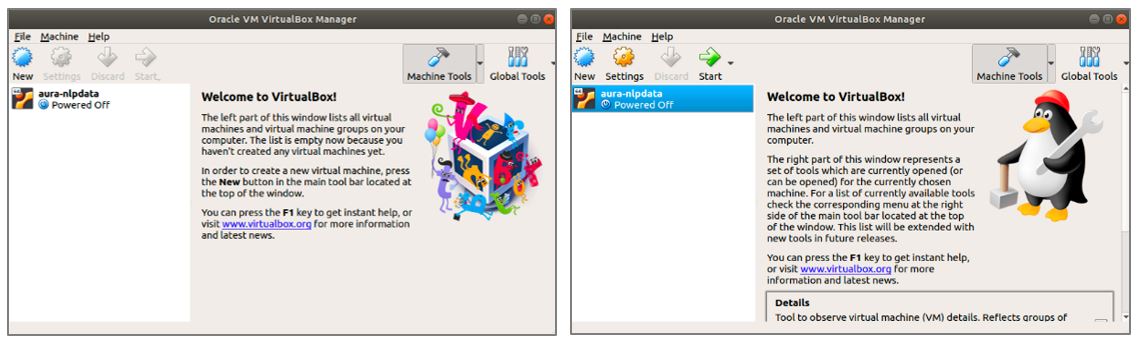
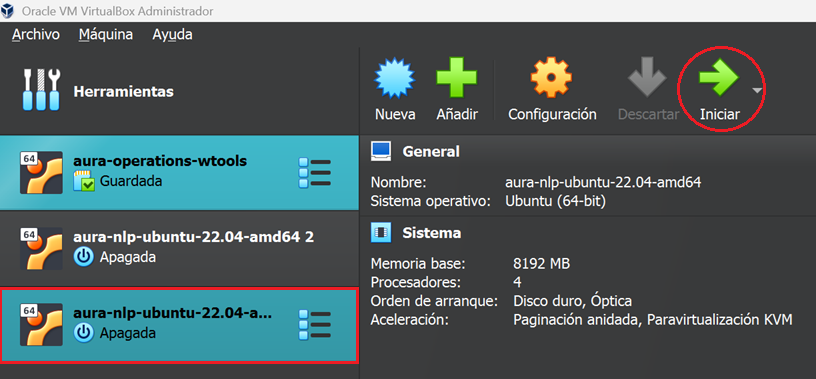
3.4. When the importation process has finished, in the main view of VirtualBox the new Virtual Machine is shown. Click over the new virtual machine and then press “Start”.
-
Ask the APE Team for the user and password to access.
-
Generate a new SSH key to operate the Virtual Machine
In order to operate with the NLP Virtual Machine, it is required to generate a new SSH (Secure Shell Protocol) key. For this purpose, follow the steps described in the section Generate a new SSH key and add it to the ssh-agent.
Be aware of the time update, as if the Virtual Machine is paused, the time is not updated and it can lead to errors with certificates.
Generate a new SSH key and add it to the ssh-agent
In order to operate with the NLP Virtual Machine, certain configuration is needed to allow users to access GitHub NLP repositories.
You can access and write data in repositories on GitHub using SSH (Secure Shell Protocol). When you connect via SSH, you authenticate using a private key file on your local virtual machine.
SSH configuration guidelines
Follow the steps explained below to configure the SSH keys:
-
Open VirtualBox and run the NLP Virtual Machine by clicking in the “Start” button.
-
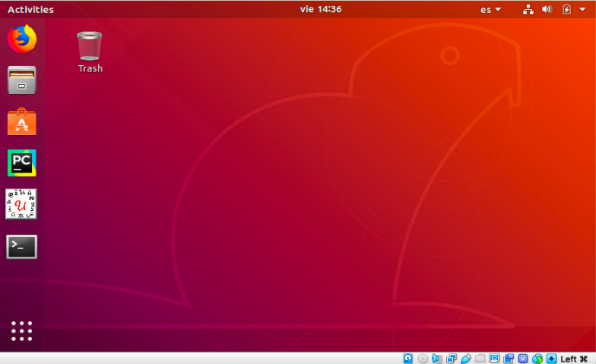
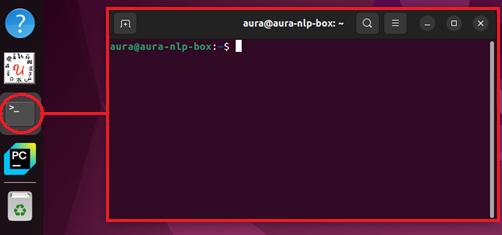
After login into the VM (if you do not remember the password, ask APE team), open the terminal.
-
In the terminal, type in the command:
ssh-keygen -t ed25519 -b 4096 -C your-email@telefonica.com, replacingyour-emailby your corporate e-mail. This command generates a new pair of SSH keys using the ed25519 algorithm. After introducing the command, press “enter” as shown in the following image.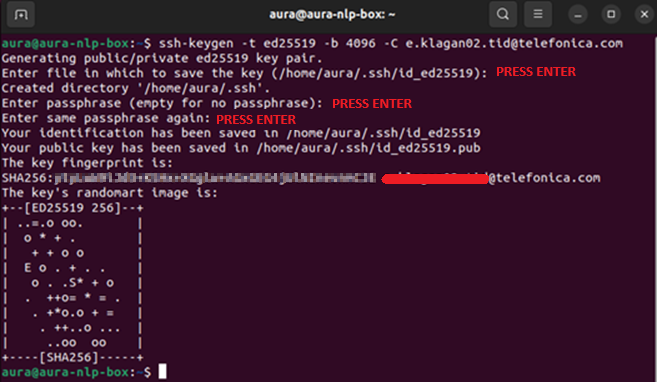
-
Now that we have our SSH key pair generated, introduce the following command:
ssh-add ~/.ssh/id_ed25519. This command adds the private keyid_ed25519to the SSH agent, allowing SSH connections to use that key without requiring the password each time we need to access the repositories.
-
The next step is to display the content of the
id_ed25519.pubfile, which contains the public SSH key. To do this, type in the following command:cat ~/.ssh/id_ed25519.pub. We need to copy the displayed key to add it to GitHub in the following steps. Copy everything except your email address, displayed at the end of the string.
-
Open GitHub in a web browser and log in.
-
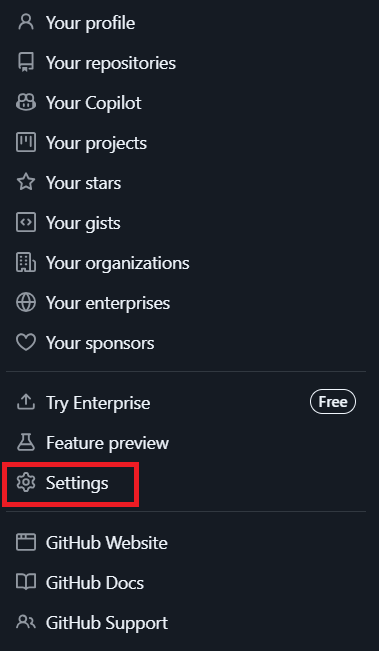
In the top-right corner, click on your profile image, and select “Settings”.
-
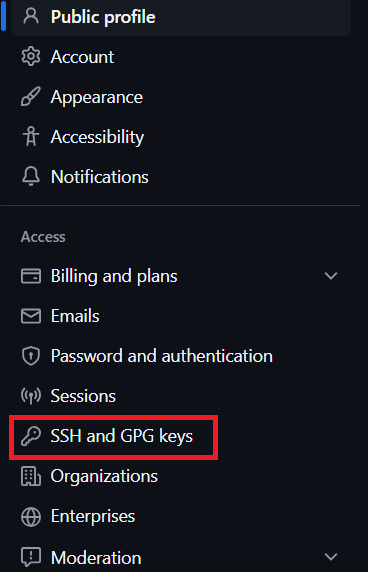
In the new page, on the left-hand side bar, click on “SSH and GPG keys”, and then click on “New SSH key” button (in the top right corner).
-
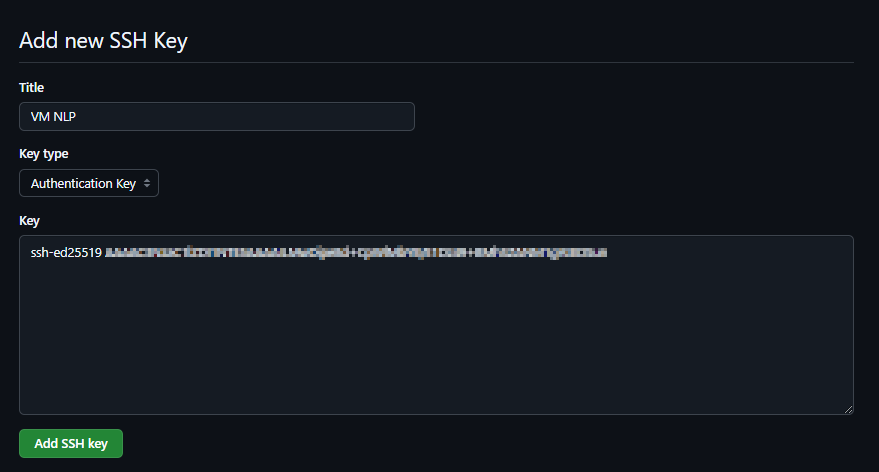
Now, add a title for the SSH key, for example, “VM NLP”. The key type should be Authentication Key, and in the key field, add the key copied from the terminal in step 5. Finally, click on “Add SSH key” button.
-
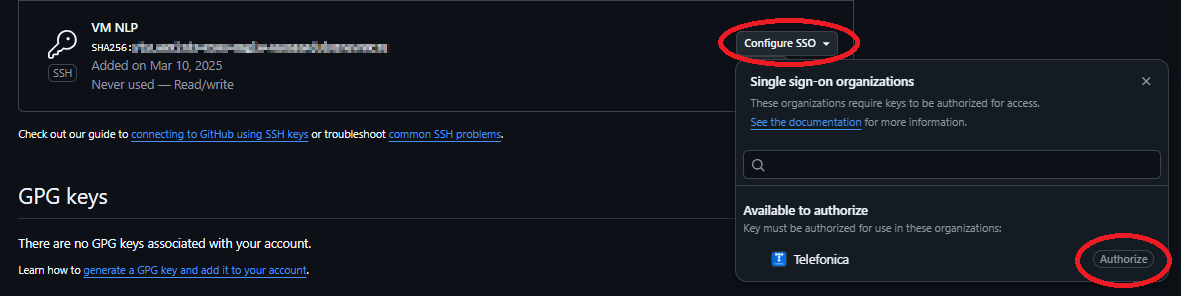
In the list of SSH keys shown after clicking “Add SSH Key” in the previous step, identify the recently created SSH key and, on the right-hand side, click on the “authorize” button, as shown in the following image. GitHub will prompt you to verify with your password in order to authorize the Telefónica organization.
-
Now that we have our SSH keys set up, we can proceed with cloning the repositories we need to work with. Remember that to clone the repositories from the VM, we must click on “SSH” to clone via SSH and copy the URL.
